Blogs
Dash is made to make it easier to create worlds in UE5.
Let’s take a look at some examples of how to use Dash
(Work in progress)
Youtube Video: Realistic Architecture Environment in UE5 - Dash Workflow
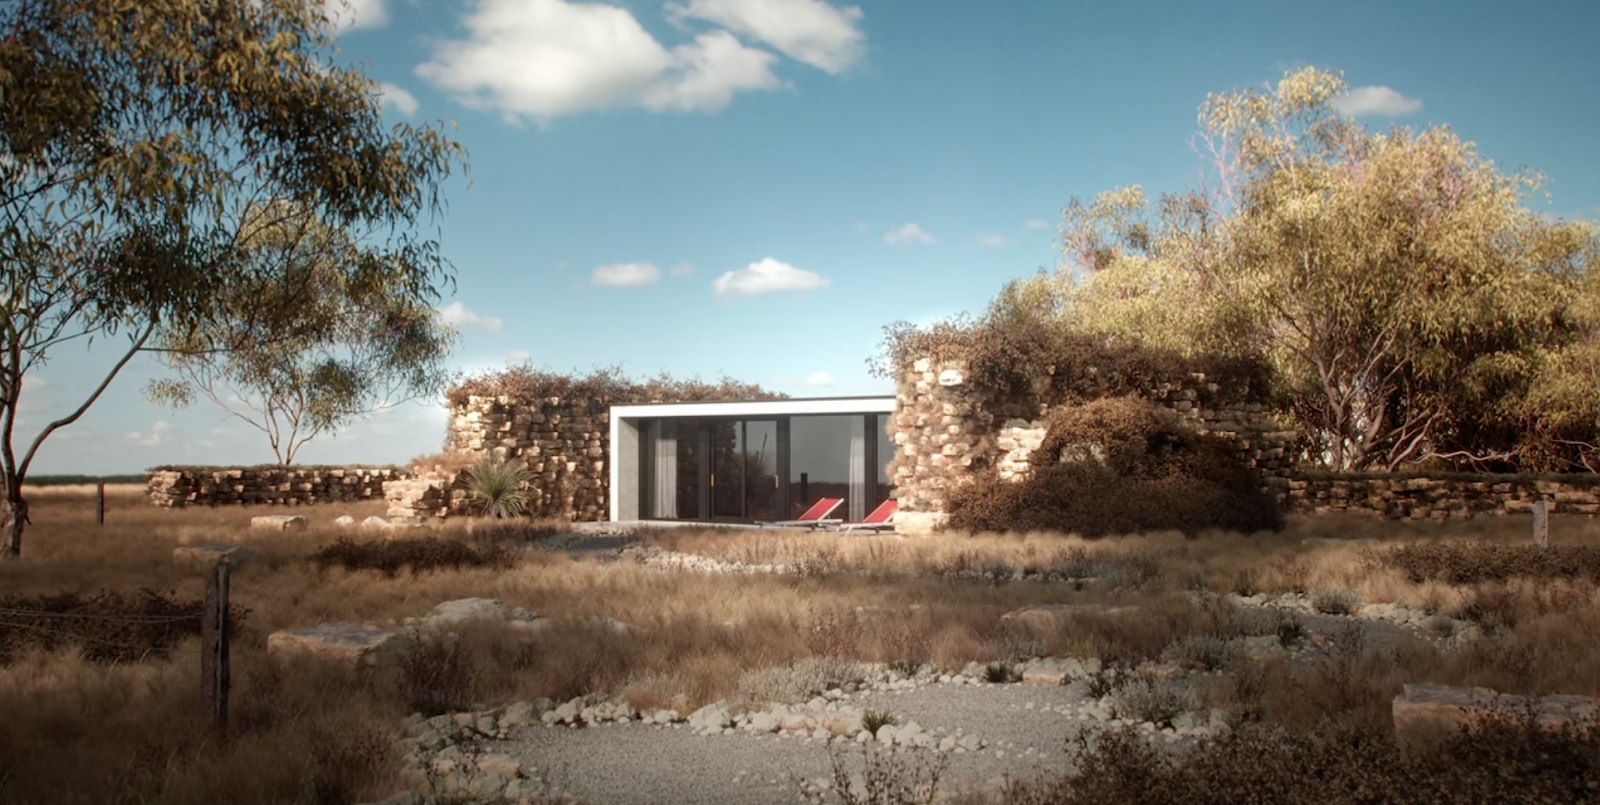
Welcome! Today, we'll leverage the power of Dash for stunning outdoor scene creation featuring a modern house nestled amidst ancient ruins, all within Unreal Engine 5. We'll explore Dash's functionalities like Dash AI tagging, detailed scattering, material editing, and more to bring this environment to life. Learn how to make your scenes more realistic and visually breathtaking, with easy-to-use, drag-and-drop functionality and pro tips for enhancing your game scenes.
Because it enables you to create stunning real-world environments and more in Unreal Engine 5 with everything from terrain generation to vegetation placement, weather effects, post-processing magic and procedural vines. Dash takes your environment creation process and makes it effortless, but we’ll get into all this in a minute. First, let’s get started with the tutorial.
When it comes to conceptualizing your world, you might have a creative idea in mind already but inspiration is what’s going to get you through to the completion of your project. Start by collecting reference images that can help you visualize your scene. This will guide your creative decisions, throughout the process, and help you decide when to add personalized touches.

Set up your project. Open a new project in Unreal Engine 5 by clicking “Create A New Project”. From here you can choose to use a template as a starting point or not. If you want to return to this later, simply open your project from the main window.
Open the Dash Content Library. Utilize the Dash toolbar to access the Content Library. Here, you can import various assets to populate your scene, such as downloaded Megascans assets for realistic textures and models, Poly Haven assets for high-quality 3D objects and/or your own custom assets (which we’ll get into later).
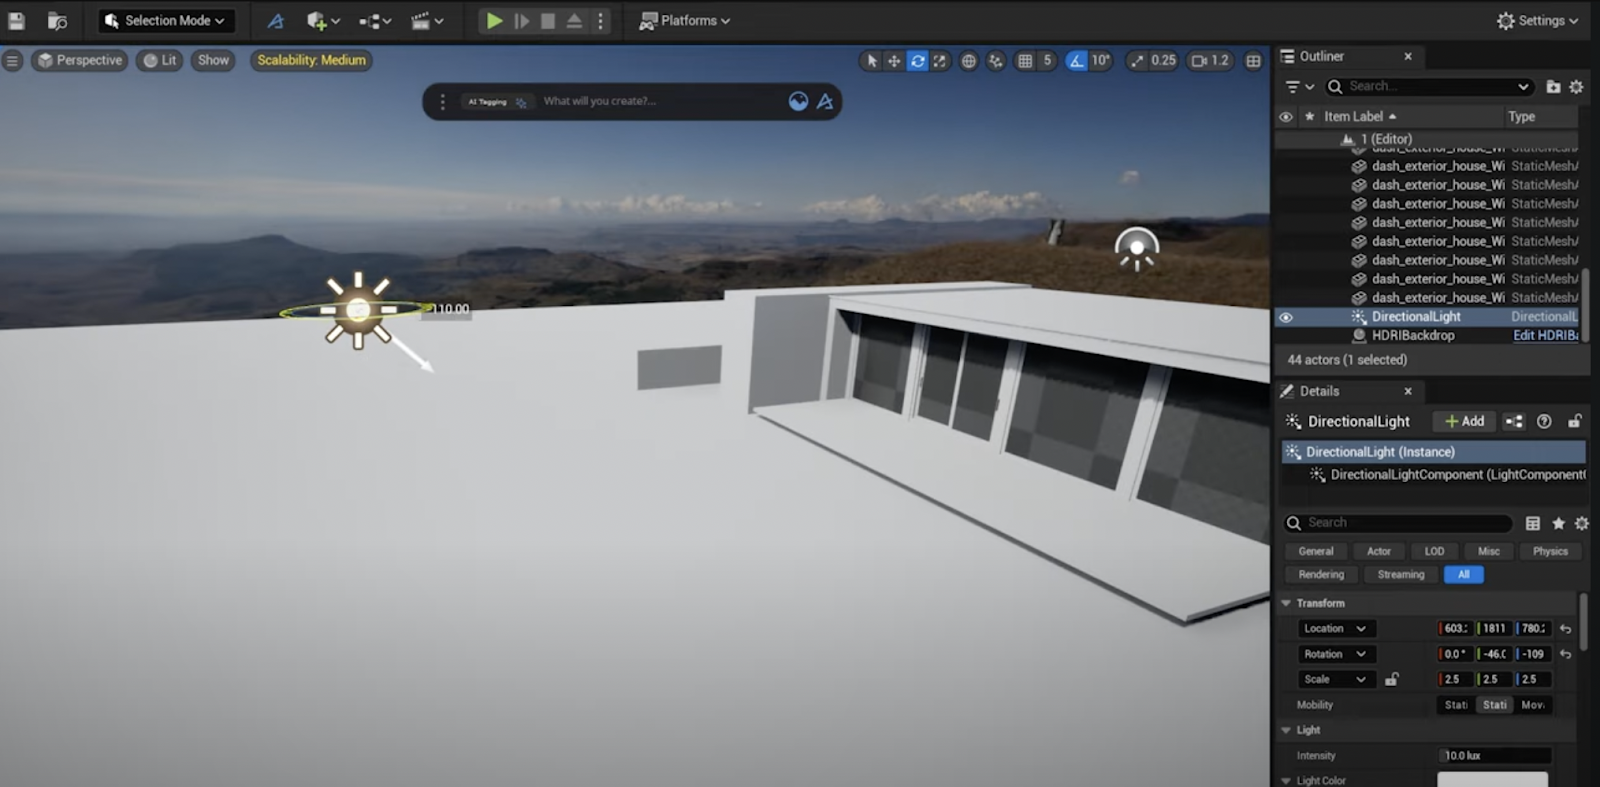
Light the environment with HDRI lighting. Import an HDRI that complements the mood of your scene from the Poly Haven HDRI library. Adjust its rotation to match the desired sunlight direction.
Add a directional light to your scene and align its rotation with the sun, positioned in your HDRI. Drag a post-process volume into the scene from the Dash toolbar. Set it to "Unbound" and adjust the exposure for better lighting. Then, type “Camera” in the Dash toolbar to create one. Compose your shot roughly and adjust it to frame your scene.

Acquire assets. Download asset packs from the Epic Marketplace that suit your scene's aesthetic, like the Rural Australia or Backyard environment packs which we are using for this example.
Get the AI tagging advantage. Click on the AI tagging button within the Content Browser. This allows Dash to scan and categorize all your project's assets. You can then search for assets not just by name, but also by their properties, streamlining the selection process.
Search for specific assets using the Dash toolbar, with ease. All your downloaded assets are organized and categorized on the left. You can search by terms like "trees," "red assets," or even combine terms like "chairs" and "orange" (orange chair) to find the perfect match for your scene.

Create realistic vegetation. Download realistic vegetation assets from the Megascans library for more detailed and intricate landscapes.
Shape the terrain. Delete the ground placeholder and use Dash to generate your scene's terrain. Adjust the parameters in Dash to achieve your desired terrain look (e.g., a simple flat terrain in this example). You can drag and drop vegetation from the Dash library into your world and set the UV scale before applying materials to your building.
Texture windows. Apply textures to your building by dragging materials from the Dash Content Library. For the windows, simply drag and drop the glass material from the starter content into the scene. Enhance the realism by adjusting the translucency settings within the material editor.
Create crumbling walls. Utilize 3D scanned assets, like those from Megascans, to create realistic elements like crumbling stone walls. You can also drag and drop the desired rock asset into your scene. Within the Dash toolbar, type in "Scatter" to search among the library of tools.
Here, choose "Grid Scatter". Select your rock asset and click on the plus sign next to "Instance Mesh" and "Grid Origin" within the Grid Scatter panel. This will scatter your rocks in a grid formation. Pro tip: Adjust the scatter's parameters and enable "Random Spin" for a more natural look.
Break the repetition. Rock walls can look a bit generic without additional touches. Scatter plants over the rock wall to break up the repetitive pattern and create a more organic look.
Create the illusion of overgrown vegetation. Duplicate the rock wall model a few times to create the illusion of overgrown vegetation surrounding the modern house. Scatter bushes strategically on these additional rock walls.
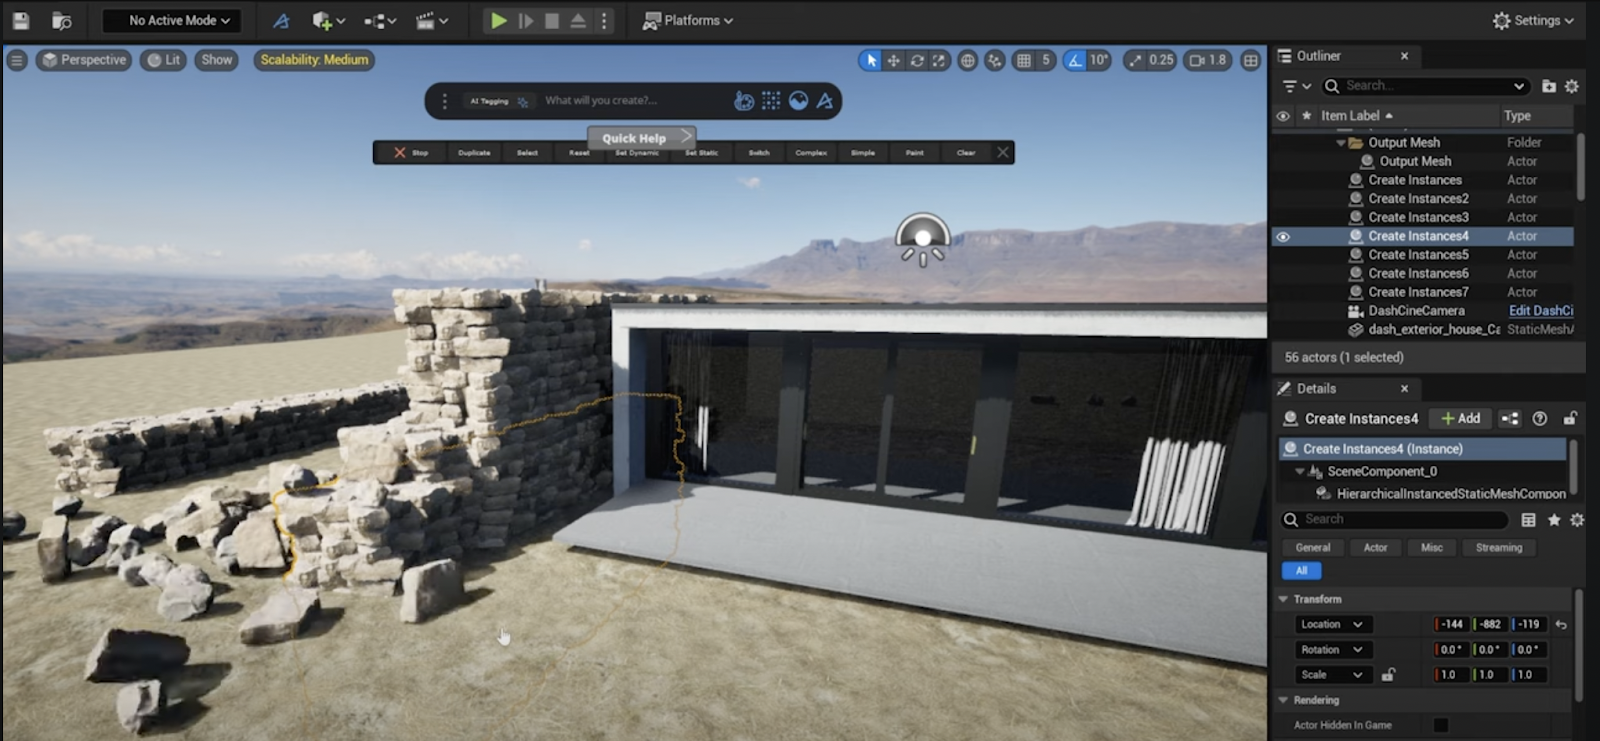
Physics simulation. Utilize the physics tool within Dash by typing "Physics" in the toolbar. Select the rocks you want to be physically simulated and set them to "Dynamic." Set any other objects you don't want the rocks to fall through to "Static."

Place rocks precisely. With the rocks selected, use the paint tool (activated by pressing the Paint Button) to paint specific areas where you want the scattered rocks to appear. You can adjust the brush size by using Shift + Middle Mouse Button and click the left mouse button to place the rocks. Hold the middle mouse button to further adjust their positioning.
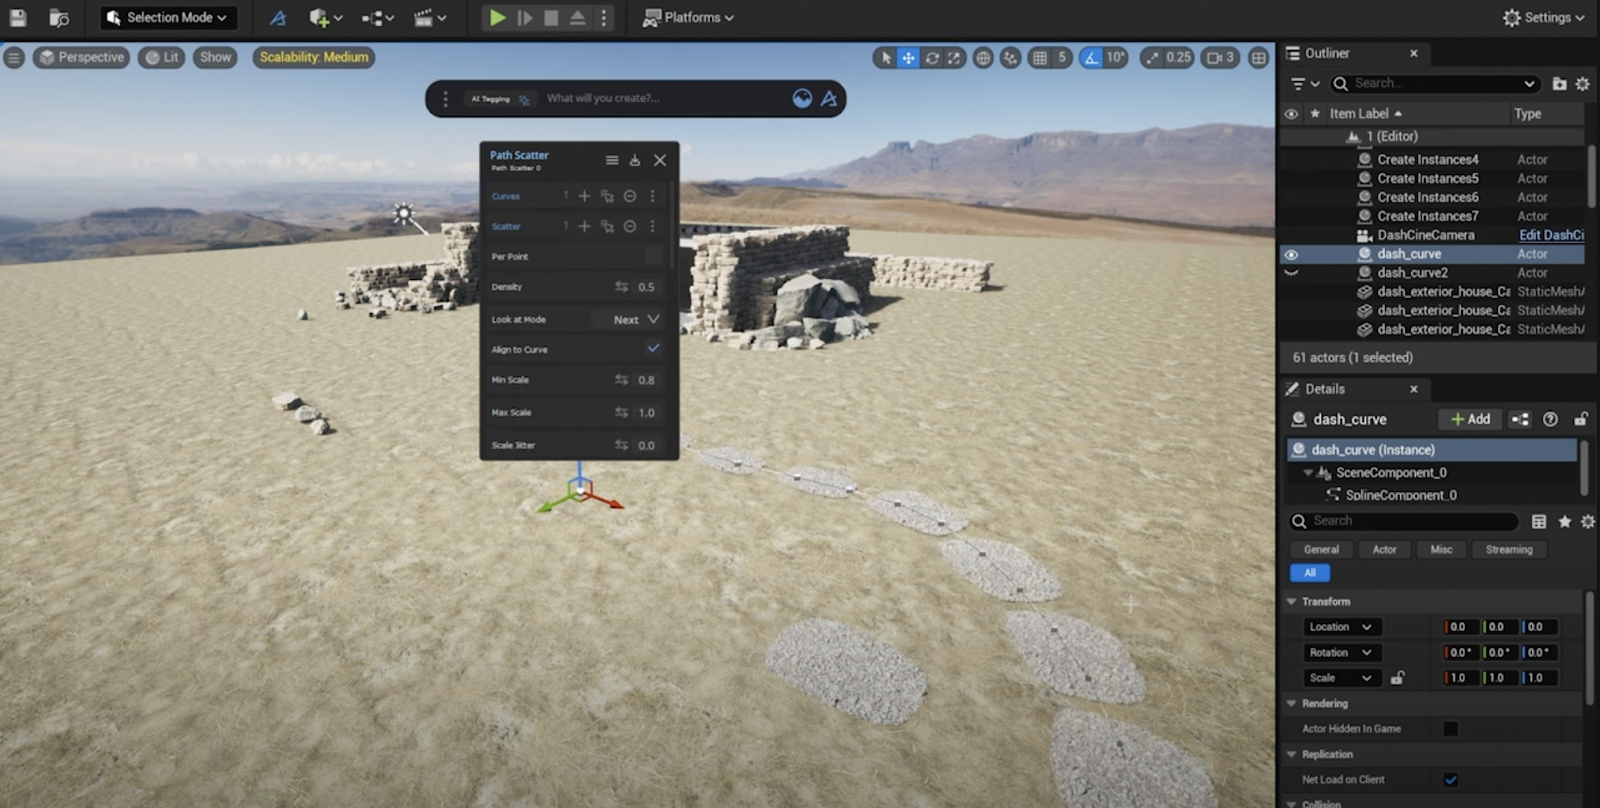
Path Creation. Select the Curve tool from the Dash toolbar. Set the minimum spacing between points to your desired distance.
Drawing the path. Click the "Start Drawing" button and draw a freehand curve to create the path for your scene. You can also go back and adjust individual curve points for finer control.
Path creation. Drag desired Megascans assets into your scene. It could be a suitable path model, like gravel or pavement Then you can open Path scatter and apply it to the model and the curve. Adjust the parameters within the Path Scatter tool to control the model's distribution along the path.

Scattering vegetation: Search for various vegetation assets in the Dash Content Library, like grass, flowers, and small trees. Utilize the "Surface Scatter" tool to distribute these assets across your terrain. Experiment with the scatter density, rotation, and scale to achieve a natural look.
Props and details: Search for additional props like benches, lamps, or signage using Dash's AI tagging. Place these strategically around your scene to enhance its realism and create a sense of place.
Weather effects (Optional): Consider adding subtle weather effects like falling leaves or light rain using particle systems in Unreal Engine. These can be found in the "Effects" tab of the Content Browser.
Post-processing magic: Fine-tune the scene's overall mood and lighting by adjusting post-processing effects through the Dash Camera Tool. Explore options like Color Grading, Bloom, and Depth of Field within the Post-Process Volume settings.
Material blending. Utilize the Material Blending tool in Dash to create custom materials for your scene. This allows for advanced effects like blending textures for realistic transitions between different materials.
Lighting ambiance. Experiment with different light sources, like spotlights or area lights, to highlight specific areas of your scene and create your desired atmosphere.
Background scenery. Consider adding a background sky using Sky Spheres or Infinite Planes within Unreal Engine. You can even import high-resolution sky textures for added realism.
Camera animation. Use the Sequencer in Unreal Engine to create a flythrough animation showcasing your architectural environment. This allows viewers to explore the scene from different angles.
Rendering your masterpiece. Once you’re satisfied with your scene, use the "Movie Render Queue" option in Unreal Engine to create high-quality stills or even cinematic videos of your architectural environment. And, that’s it!
By following these steps and exploring the vast capabilities of Dash, you can craft captivating and realistic outdoor scenes within Unreal Engine 5. Remember, experimentation and embracing your creative vision are key to bringing your unique environment to life! If you’d like more, learn how to create a training environment in Unreal Engine 5.

Are you impressed by the possibilities Dash unlocks for creating stunning outdoor scenes in Unreal Engine 5? Take your environment creation skills to the next level with a Dash free trial!
Don't wait – unleash your creativity and bring your vision to life today!
